Print a poster
Print a wide-format poster
Learn more about how either to have ITS staff print your poster or do it yourself.

Notice: We have a new poster printer for fabric material! Please see the instructions linked below to install it.
Wide-format poster printing
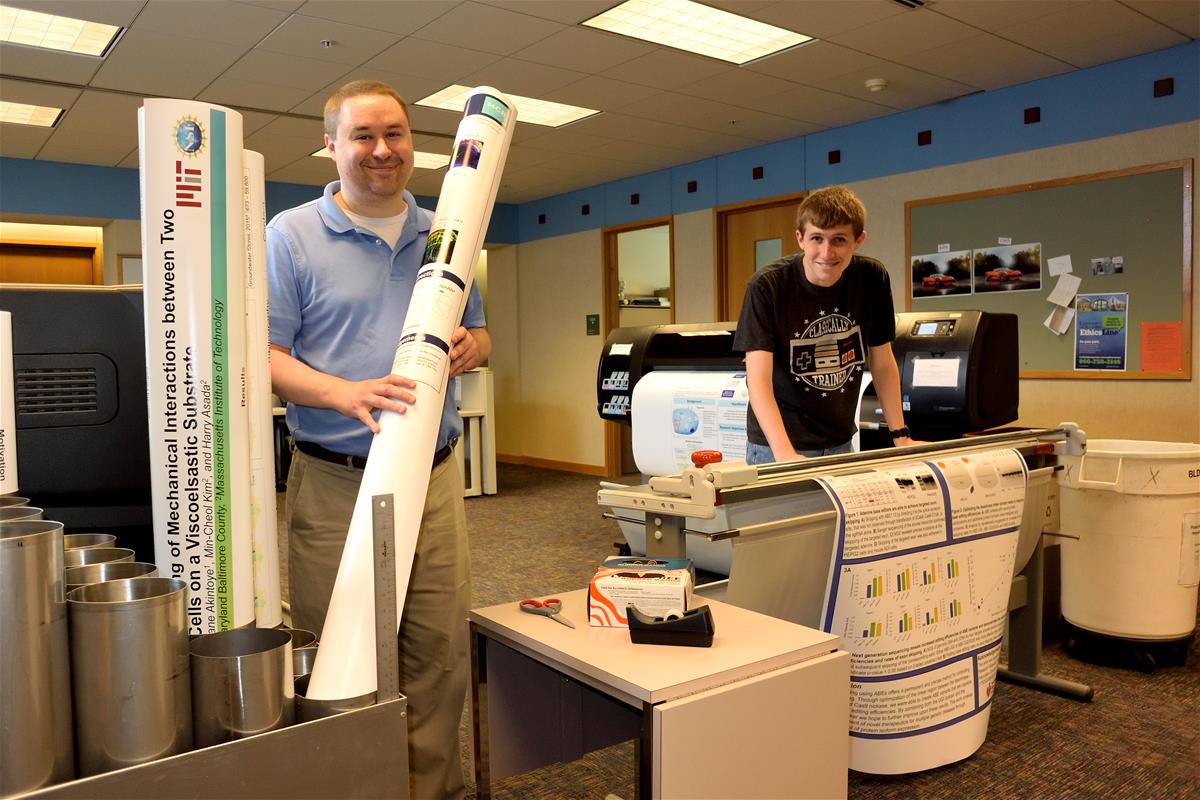
ITS offers a high-quality wide-format poster printing service. If you need to print a poster, this service is convenient and reasonably priced at $0.71 per linear inch.
Anyone wishing to print to our wide-format poster printers must first register using our secure web form. After registering, you may print the poster yourself, or have the Beckman ITS Help Desk print it for you. The same rates apply.
Email the poster file in PDF or PowerPoint format to helpdesk@beckman.illinois.edu specifying the size and material (paper or fabric), and the Beckman ITS Help Desk staff will print the poster for you. Poster printing times vary with volume and staff availability. You will receive an email when your poster is complete. During times of heavy volume, please allow up to one business day for the printing of your poster.
Do-it-yourself poster printing
Printing a poster yourself allows you to print during off-hours. Printing a poster can be more complex than printing a regular document.
Posters may be picked up any time at the Beckman ITS Help Desk in the poster area. Please note that during off-hours, the building may be locked and you will need to have access to the building to pick up the poster.
The PosterFabric printer uses a roll of fabric 36 inches wide by 150 feet long. The Poster2 printer uses a roll of paper 60 inches wide by 100 feet long. Please keep these dimensions in mind when sizing your poster. Getting the document sized appropriately and oriented in the right direction will solve most problems.
If you are working from a document that was not originally intended to be a poster, you will usually need to change the size of graphics and the text as well. Often, it is simpler to start a new document from scratch.
Please note the following:
- You must register for printing before you can you use the poster printers. See our printer registration page.
- It takes time to print large format documents. Although most documents will print within a half hour, due to occasionally high volume, please allow up to 24 hours for your document to print.
- You can check the status of your poster job by contacting the Help Desk.
- We have a paper cutter that can be used to trim any excess paper from the poster.
- Converting your document to PDF format can provide more reliable printing if you are having trouble.
- If you need assistance formatting a poster, ITS offers a poster consulting service for $40 an hour, one hour minimum.
Installing the poster printer
See our printer installation page for installation instructions.
Printing a poster from Windows
- From the File menu, select Print.
- Choose Poster2 for satin finish photo paper or PosterFabric for fabric material.
- Click Properties, Printer Properties, or Printer Options, whichever applies to the application being used.
- On the Paper/Quality tab, select Poster under the Quick sets drop down menu.
- Select the appropriate document size. Arch E is 48 inches by 36 inches. If your poster is a different size, click Custom… and enter the dimensions. Create a descriptive name for the custom size, click Save, then OK. Ensure your new custom size is selected under Document size.
- Drag the Print Quality slider to the “Quality” end.
- Note: Do not select the option “Show preview before printing” as this will cause the print job to be placed on hold and you will be unable to release it.
- On the Layout/Output tab, under Rotation, select the appropriate setting to ensure that the poster prints in the most efficient way to use the least paper. Generally, this will be accomplished using either the “Avoid Clipping” or “Rotate by 90 degrees” option. It is not necessary to change any other settings on this tab.
- Click OK.
- On the main print dialog box, choose the appropriate option between “Fit,” or “Shrink oversized pages” so that the poster fits the size you selected.
- Ensure that the preview on the print dialog looks correct and has the correct size shown.
- Click Print.
Printing a poster from Mac
- If the poster is in PowerPoint format, click File > Save As and choose the PDF format to save it as a PDF.
- Open the PDF and click File > Print.
- Choose Poster2 for satin finish photo paper or PosterFabric for fabric material.
- Ensure that the “Paper Size” is set correctly, and adjust if needed. Use “Manage Custom Sizes” to input the size manually if needed.
- Use the Auto Rotate checkbox to ensure the poster prints in the most efficient way to use the least paper.
- Ensure that the preview looks correct and click Print.